
My S13 pop-up HID projector retrofit

Thread Starter
OG Join Date: 6-15-00
Joined: Jul 2007
Posts: 4,894
Likes: 0
I decided to start this project since I was really tired of people who just slap HID bulbs into reflector style housings for the look. All this also does is blind oncoming drivers due to the massive amount of glare, lack of beam focus and lack of a proper projector housing.
So, grab a Snickers and follow along with my retrofit project.
Here are the victims, slated for surgery. Got these bad boys from eBay and one was even pre-broken for me. Bonus!

These are the J30 projectors. They were not the easiest to extract from their factory housing but there are two of them per side. Bonus again! Later on, I plan on retro-fitting another set so all I have to do is install the stepped glare shield to the high beams.
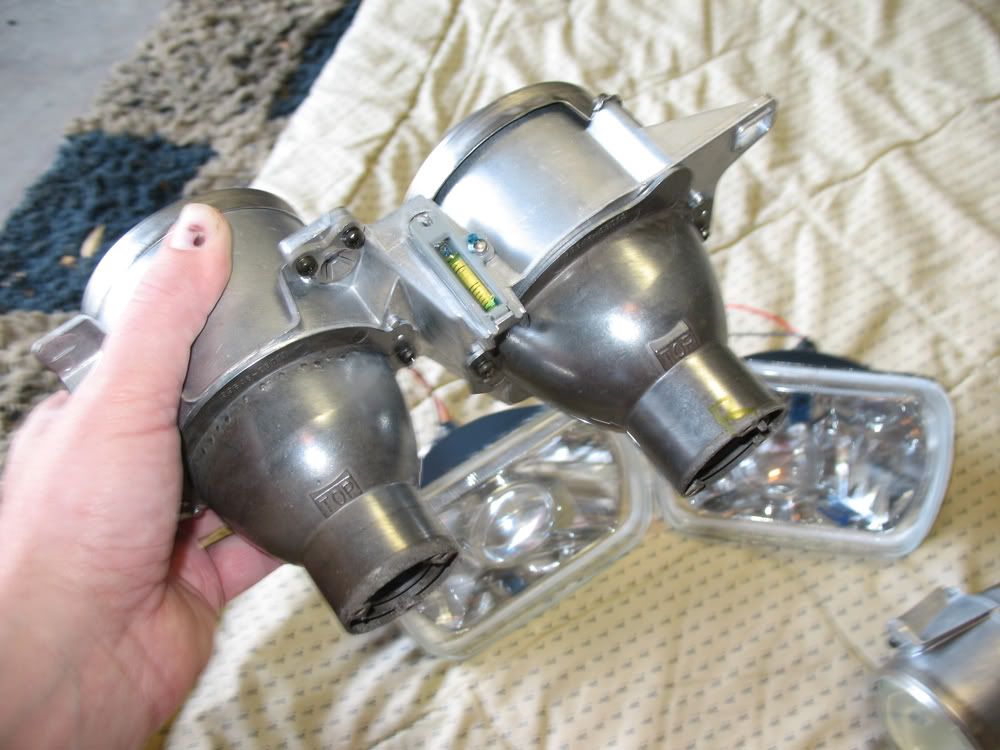
Here's another view of one side of the projectors.
Here, you can see what makes the hard cut line on the HID lights you see on the road. The rectangular piece might be removed after I see how they look.
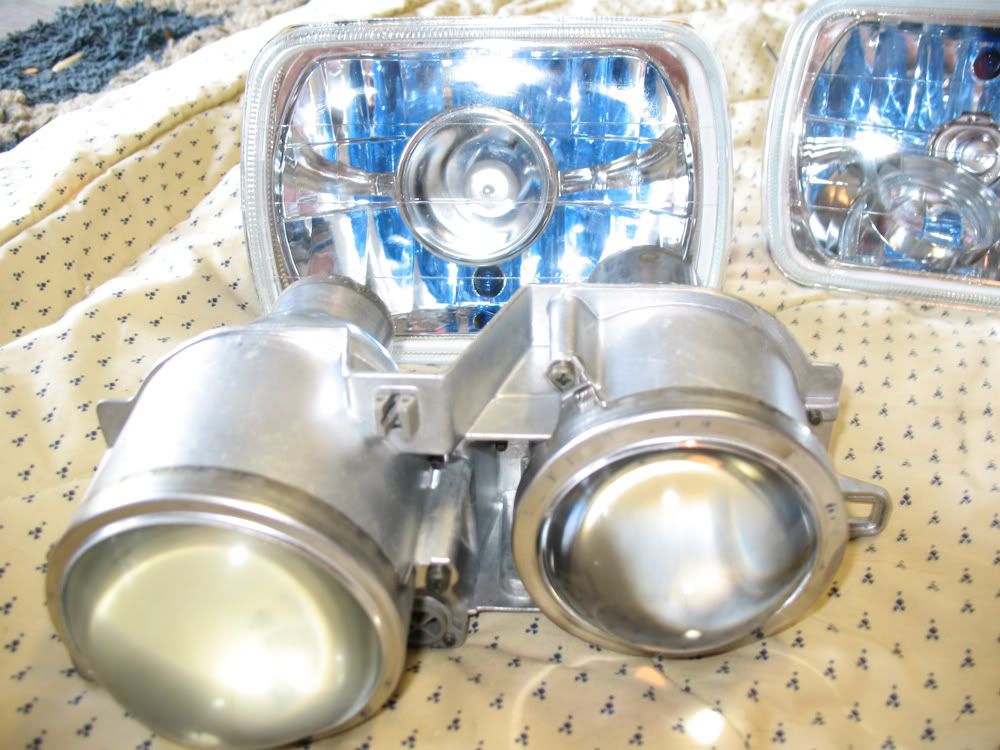
This is a shot of the non-broken projector light from eBay, complete with the ricer blue bulb.

This is the broken one. Ironically enough, the beam looks brighter without the fake projector. Hmmm.

This is a sealed beam Silvania Silverstar. Note how it is brighter and has a wider beam spread than the above tests.

The broken POS.

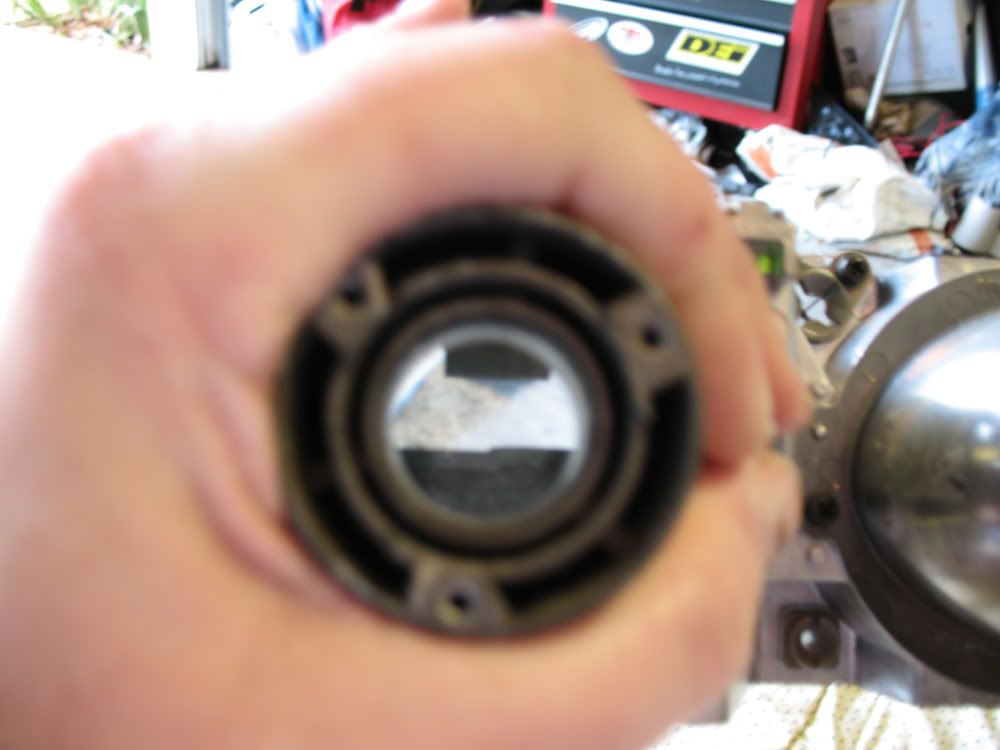
This is what happens when you stick a front-dipped H4 bulb into a projector housing. You can clearly see that the dipped portion of the bulb (used for anti-glare in a conventional housing) hinders how the projector is designed to work. Just the opposite, the HID bulb in a non-projector housing is filled with glare and no focus.

This is the bulb I used, note the coating on the tip I was talking about earlier.

So, grab a Snickers and follow along with my retrofit project.
Here are the victims, slated for surgery. Got these bad boys from eBay and one was even pre-broken for me. Bonus!
These are the J30 projectors. They were not the easiest to extract from their factory housing but there are two of them per side. Bonus again! Later on, I plan on retro-fitting another set so all I have to do is install the stepped glare shield to the high beams.
Here's another view of one side of the projectors.
Here, you can see what makes the hard cut line on the HID lights you see on the road. The rectangular piece might be removed after I see how they look.
This is a shot of the non-broken projector light from eBay, complete with the ricer blue bulb.
This is the broken one. Ironically enough, the beam looks brighter without the fake projector. Hmmm.
This is a sealed beam Silvania Silverstar. Note how it is brighter and has a wider beam spread than the above tests.
The broken POS.
This is what happens when you stick a front-dipped H4 bulb into a projector housing. You can clearly see that the dipped portion of the bulb (used for anti-glare in a conventional housing) hinders how the projector is designed to work. Just the opposite, the HID bulb in a non-projector housing is filled with glare and no focus.
This is the bulb I used, note the coating on the tip I was talking about earlier.
__________________


1973 VW Squareback
1979 AMC Jeep Cherokee Chief
RIP Tim
1973 VW Squareback
1979 AMC Jeep Cherokee Chief
RIP Tim
Thread Starter
OG Join Date: 6-15-00
Joined: Jul 2007
Posts: 4,894
Likes: 0
Now, it's time for construction...
But first, time to destroy...sorta. I begin by cutting the low-beam off of the high beam. First, I sealed the ends with tape and always used a micro-fiber cloth to handle the lenses.

Now that it's off, I started cutting off some of the extra tabs I didn't need. A steady hand, a grinder, a Dremel and a hacksaw come in handy here.

Next, I used the Dremel and a Sharpie to cut and mark the housing. I started with a basic cut that was big enough to poke the lense into and then I marked the fine shapes out. You can see the nearly final cut on one side.

From the front.

A bit more tweaking and grinding and it fits like a glove.

A shot from the front test-fit.

Both are now ready for some mud. I was going to use JB Weld but decided against it as I would have needed too much to be cost effective.

The back before bondo.

Finally, here it is after the mud work. I plan on sanding it down to smooth it out and give it a coat of black. I know that nobody will see it as is (except for now) but I'll know it looks like ass and it'll bug me.

Also note that I fabbed in the vent tubes from the stock J30 lights. This'll help with heat and condensation in the future. Make sure that these are placed as close to the housing as possible so that random splashes of water don't get to them. I'll probably make a little shield just in case, mimicking the stock units.
Well, that's it for now. I've got some more work to do clearance wise but that can wait until I get the HID bulbs so I can put them in once and grind/curse once.
But first, time to destroy...sorta. I begin by cutting the low-beam off of the high beam. First, I sealed the ends with tape and always used a micro-fiber cloth to handle the lenses.
Now that it's off, I started cutting off some of the extra tabs I didn't need. A steady hand, a grinder, a Dremel and a hacksaw come in handy here.
Next, I used the Dremel and a Sharpie to cut and mark the housing. I started with a basic cut that was big enough to poke the lense into and then I marked the fine shapes out. You can see the nearly final cut on one side.
From the front.
A bit more tweaking and grinding and it fits like a glove.
A shot from the front test-fit.
Both are now ready for some mud. I was going to use JB Weld but decided against it as I would have needed too much to be cost effective.
The back before bondo.
Finally, here it is after the mud work. I plan on sanding it down to smooth it out and give it a coat of black. I know that nobody will see it as is (except for now) but I'll know it looks like ass and it'll bug me.
Also note that I fabbed in the vent tubes from the stock J30 lights. This'll help with heat and condensation in the future. Make sure that these are placed as close to the housing as possible so that random splashes of water don't get to them. I'll probably make a little shield just in case, mimicking the stock units.
Well, that's it for now. I've got some more work to do clearance wise but that can wait until I get the HID bulbs so I can put them in once and grind/curse once.
__________________
1973 VW Squareback
1979 AMC Jeep Cherokee Chief
RIP Tim
1973 VW Squareback
1979 AMC Jeep Cherokee Chief
RIP Tim
Registered User
Joined: Apr 2007
Posts: 1,000
Likes: 0
now its just time for some HID's!
__________________
1320 Inc./////
Call - 813-842-0505
Email Info@just1320.com
http://www.just1320.com
8602 Temple Terrace Hwy. C-14
Tampa FL 33637
4ws tuning Boost Lab
1320 Inc./////
Call - 813-842-0505
Email Info@just1320.com
http://www.just1320.com
8602 Temple Terrace Hwy. C-14
Tampa FL 33637
4ws tuning
Boost Lab February - Ride of the Month
Joined: Apr 2005
Posts: 7,141
Likes: 0

Thread Starter
OG Join Date: 6-15-00
Joined: Jul 2007
Posts: 4,894
Likes: 0
So far, here is my running tally:
2 J30 projector lights - $42 - junkyard
2 ricer H4 projector lights, glass lense - $30 - eBay
HID kit from 813motoring - $100 (group buy) - here
Bondo - $free - my garage
misc. Dremel bits - $10 - Home Depot
Total: $182
I'd probably charge 150 bucks in labor to do this again. It wasn't fun at all but it was cool to do it. I started working on this project @ 8am and got to where I left off at 2:30pm. I've probably got another 1.5-2 hours left to go.
__________________
1973 VW Squareback
1979 AMC Jeep Cherokee Chief
RIP Tim
1973 VW Squareback
1979 AMC Jeep Cherokee Chief
RIP Tim
Will Drift For Tires
Joined: Dec 2005
Posts: 3,083
Likes: 0
i was planning this for my car in the future. there is a uy making clear lenses for zenkis on another forum for like 100 bucs then i would do what you did here, most likely including the high beam since its a little easier to fit with the s14 housing
__________________
Nissan North America - Canton

Nissan North America - Canton


