Need help with cs2

Bought N Built
Thread Starter
Join Date: May 2006
Posts: 1,995
Likes: 0
Received 0 Likes
on
0 Posts
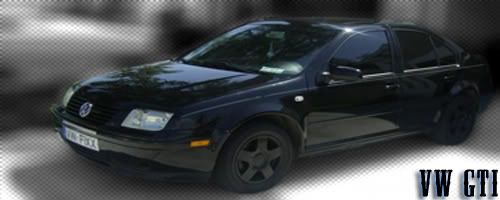
Ok so can someone tell me where the "fill paint can tool" is? I cant seem to find it anywhere.... lol I also need some advice on how to do sigs. If someone can give me some tips on how to make sigs or just sick pix i will give you mad respect/rep/even TR rating lol. I know about The Photoshop Bible. but i want to know how to make sigs like the one in my sig, and also ones like these:
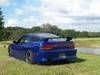
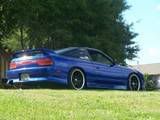
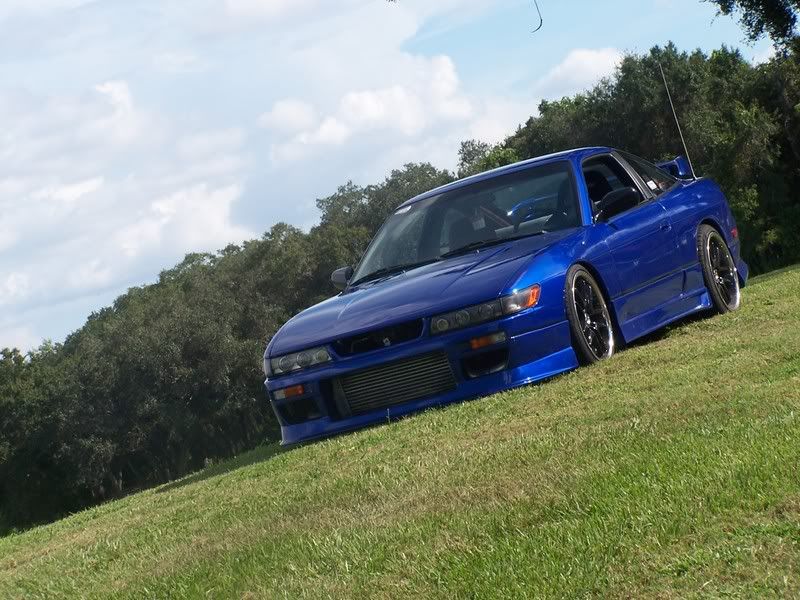
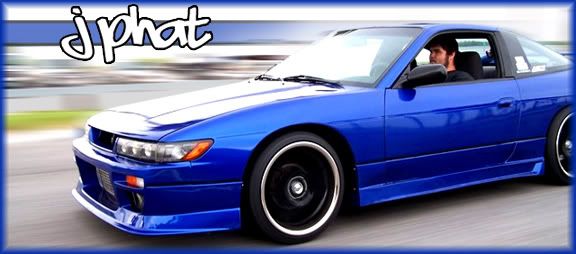
Also can you tell me how to make a picture to go from this:
To this:
(^ By that i mean the clearness/color)
If someone can help me out i will also have my buddy Sean (Kouki Crisp) to rep you too.
Thanks for your time guys. If you can help me out i will greatly appreciate it guys. i am trying to get into photography and learn the ways on the photoshop.
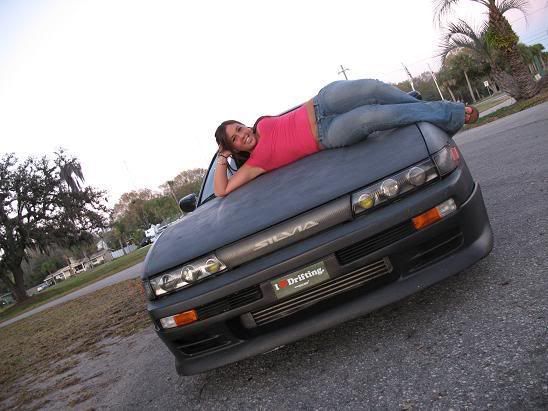
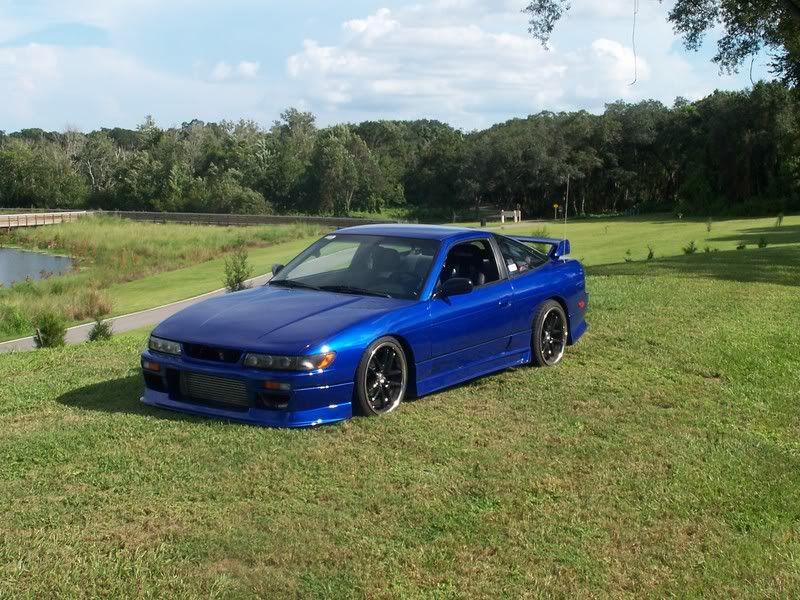
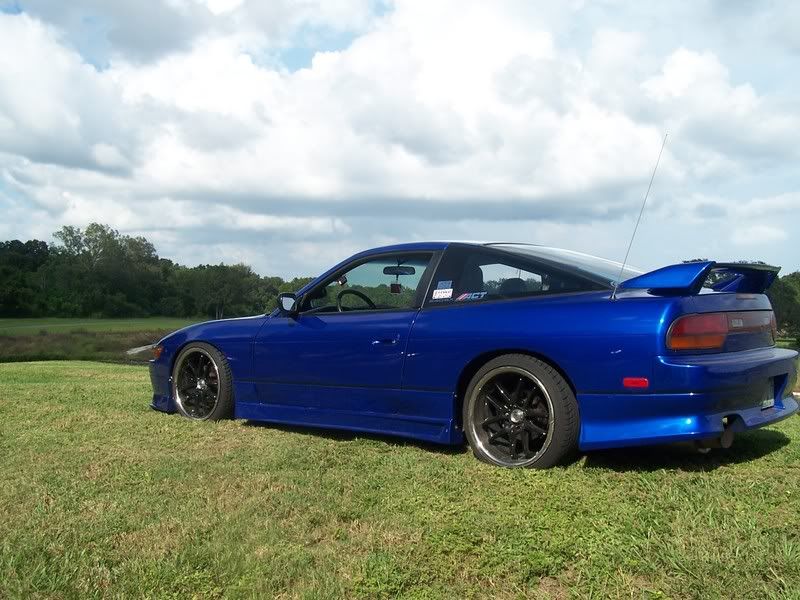
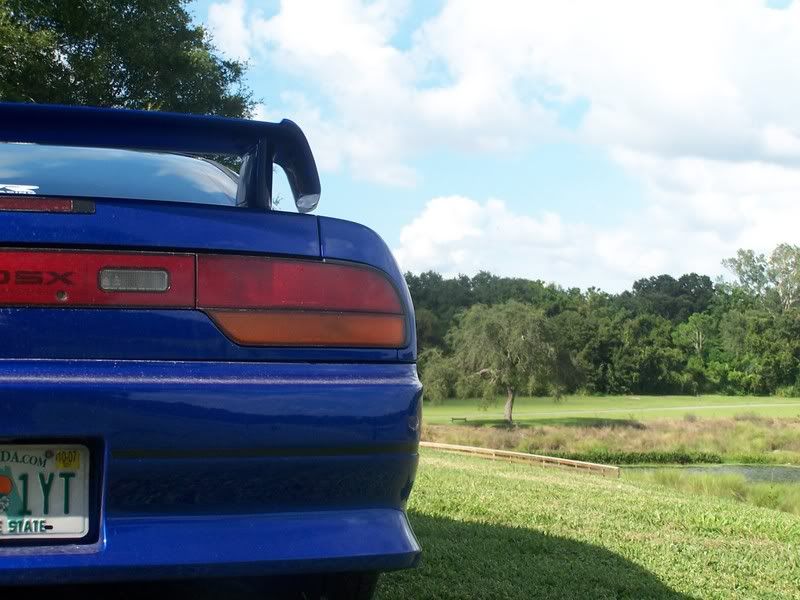
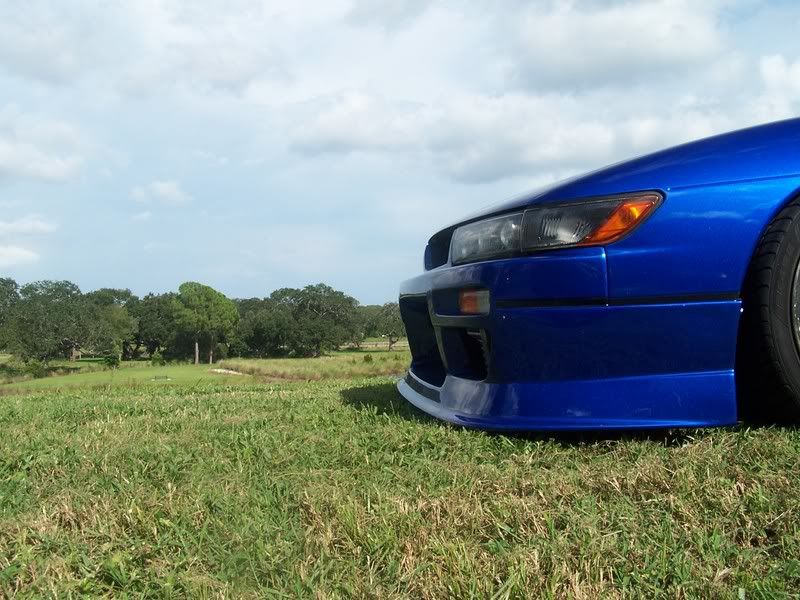
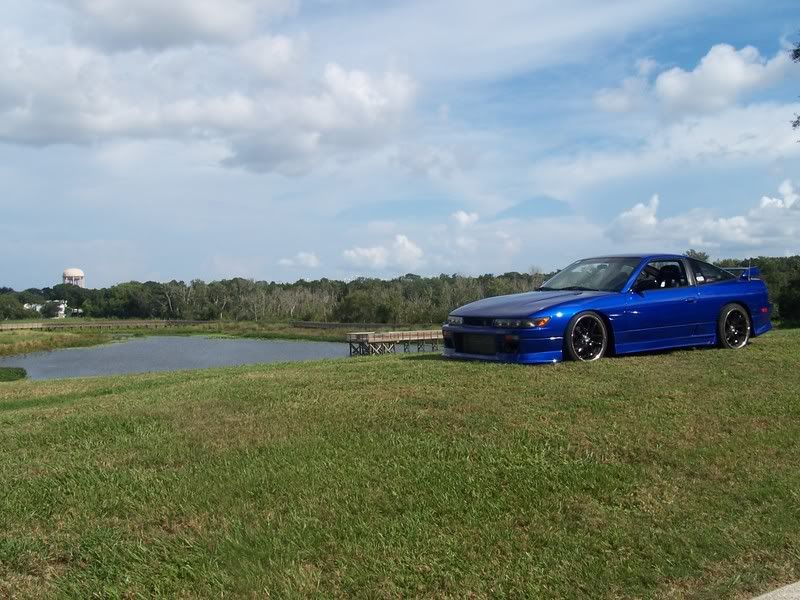
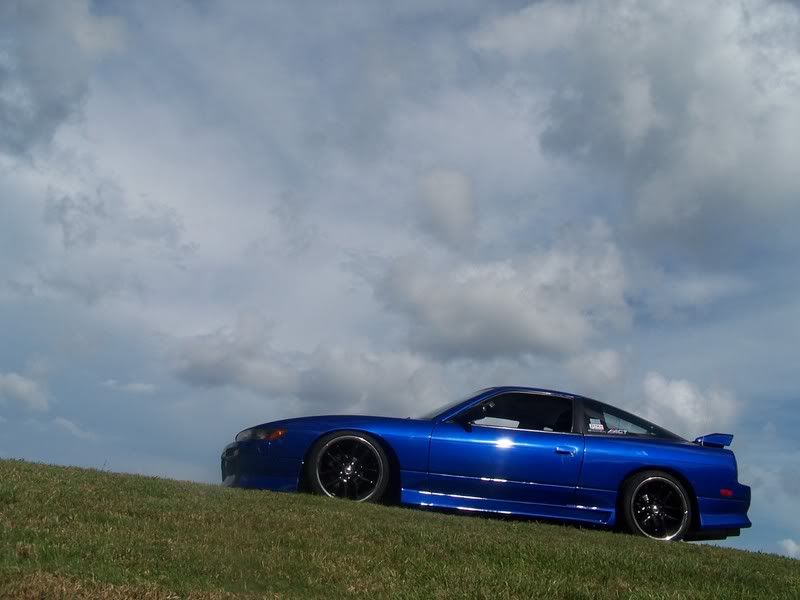
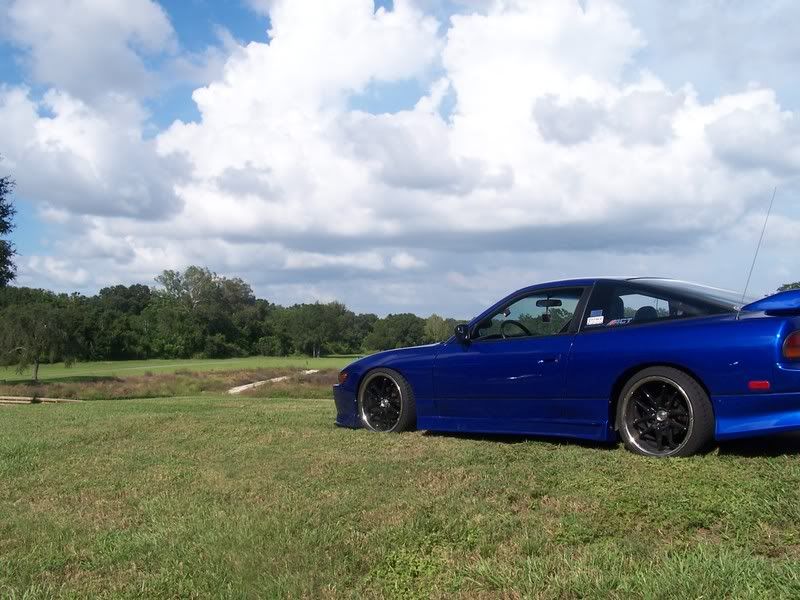
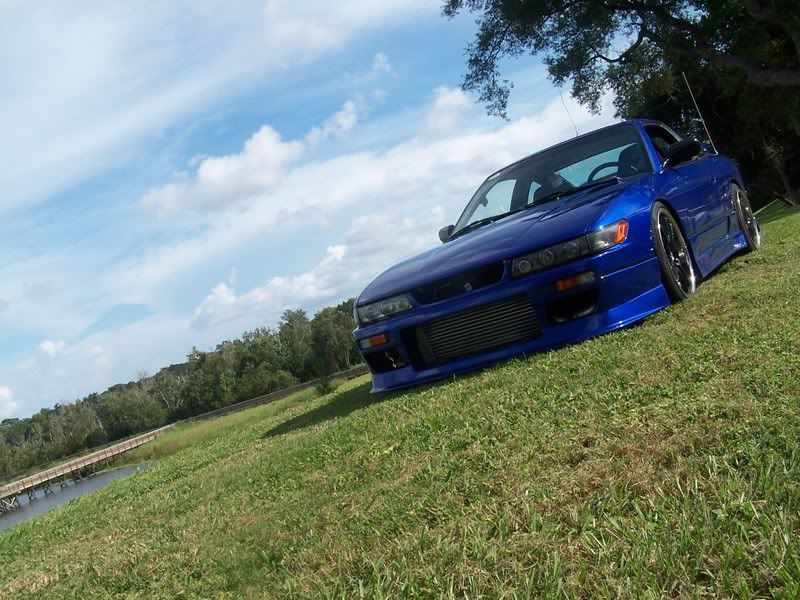
Here is some of the pics i have taken already its just minus the photoshop because i dont have the skills to work it yet, but yea here are some photos i took.
Thanks,
-JJ
Also can you tell me how to make a picture to go from this:
To this:
(^ By that i mean the clearness/color)
If someone can help me out i will also have my buddy Sean (Kouki Crisp) to rep you too.
Thanks for your time guys. If you can help me out i will greatly appreciate it guys. i am trying to get into photography and learn the ways on the photoshop.
Here is some of the pics i have taken already its just minus the photoshop because i dont have the skills to work it yet, but yea here are some photos i took.
Thanks,
-JJ
__________________

back in a 4g63

Join Date: Jul 2006
Posts: 2,549
Likes: 0
Received 0 Likes
on
0 Posts
you got a while? because i will help you. but i dont know how different CS2 is from PS 7.0, which is what i have.
1. As far as the "fill paint can tool", i think this is what you are talking about..

the 1st icon pointed at allows you to just fill in an area with color. If you have something selected, and then you go to Edit>Fill, a box comes up with a few simple options, and then click OK and it will fill the selection.
2. When it comes to making sigs, its all in your imagination. Photoshop allows you to do whatever you want. But for the examples you posted, ill try to explain what had been done.
1st sig- In this one, he selected the car(Bascially, he took the polygonal lasso tool OR the pen tool and make a selection of the car) then inversed the selection so it was the BACKGROUND that is selected INSTEAD of the car (Ctrl+Shift+I), then he went to Image>Adjustments>Desaturate. This made the background black and white, but left the subject (the car) in color.
refer to the picture below for the steps i explain...
he made a pattern fill that makes all those little lines/squares/texture/whatever. Step 1-To do that, go to File>New. When the box comes up, make the size of the new image Width 5, Height 5. Also, set the background to "Transparent". then click OK. Step 2-When the new image comes up (reallllly small) use the magnification tool and zoom in all the way(1600%). Then use the pencil tool set to the smallest size and make a square in the upper left hand corner, like in the picture. Then go to Edit>Define Pattern. save it as whatever you wish.
next, (Step 3) go to an image you want to apply this pattern to. Go to Layers>Layer Style>Pattern Overlay. in the box that comes up, click in the pattern selection box and find the pattern you just made(the box with a square in the left hand corner)Then click ok. You can play with opacity settings to get it how you want. Thats a basic pattern fill.

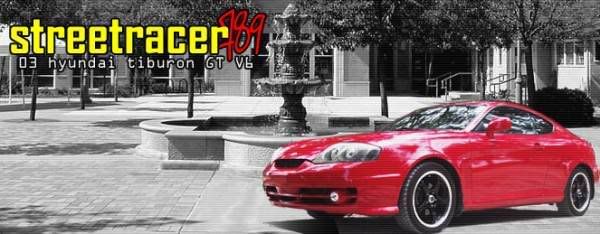
3. With the picture of the Tiburon, same thing, except he pasted a picture of his car onto a picture of a water fountain, trees, and a building. The background image was desaturated(made black and white) and his car was pasted on top in full color. he also did a pattern fill here, but with just straight lines. Same steps as above, except instead of a little square in the top left hand corner, he put a straight line.

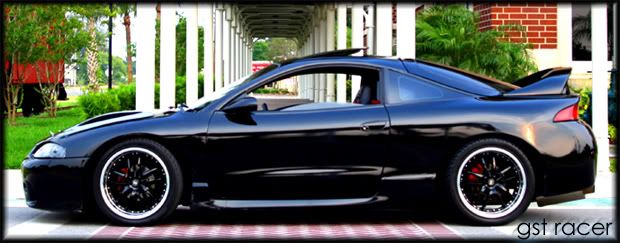
4. the eclipse is my sig. I just changed the brightness and contrast, and then added the username and a border. more on that later..
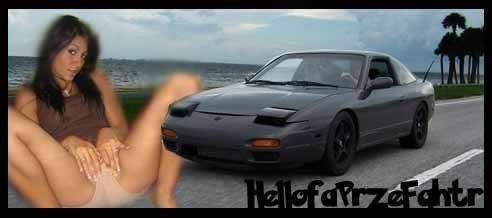
5. Same thing as the tiburon, he just posted a pic of raven riley(sooo hot) onto a picture of his 240. changed the opacity of raven riley a little, and blurred out the edges of her. rather shitty sig, imo.
6. as far as clearness and color, it depends mostly on how you change the brightness and contrast. Image>Adjustments>Brightness/Contrast..
notice the two differences..

the one on the right is clearer and brighter. her shirt stands out a little more, the car looks sharper. it all depends on you and your imagination.
anything else you need, just hit me up. im always down to help out.
btw, your car is clean as hell!
1. As far as the "fill paint can tool", i think this is what you are talking about..
the 1st icon pointed at allows you to just fill in an area with color. If you have something selected, and then you go to Edit>Fill, a box comes up with a few simple options, and then click OK and it will fill the selection.
2. When it comes to making sigs, its all in your imagination. Photoshop allows you to do whatever you want. But for the examples you posted, ill try to explain what had been done.
1st sig- In this one, he selected the car(Bascially, he took the polygonal lasso tool OR the pen tool and make a selection of the car) then inversed the selection so it was the BACKGROUND that is selected INSTEAD of the car (Ctrl+Shift+I), then he went to Image>Adjustments>Desaturate. This made the background black and white, but left the subject (the car) in color.
refer to the picture below for the steps i explain...
he made a pattern fill that makes all those little lines/squares/texture/whatever. Step 1-To do that, go to File>New. When the box comes up, make the size of the new image Width 5, Height 5. Also, set the background to "Transparent". then click OK. Step 2-When the new image comes up (reallllly small) use the magnification tool and zoom in all the way(1600%). Then use the pencil tool set to the smallest size and make a square in the upper left hand corner, like in the picture. Then go to Edit>Define Pattern. save it as whatever you wish.
next, (Step 3) go to an image you want to apply this pattern to. Go to Layers>Layer Style>Pattern Overlay. in the box that comes up, click in the pattern selection box and find the pattern you just made(the box with a square in the left hand corner)Then click ok. You can play with opacity settings to get it how you want. Thats a basic pattern fill.
3. With the picture of the Tiburon, same thing, except he pasted a picture of his car onto a picture of a water fountain, trees, and a building. The background image was desaturated(made black and white) and his car was pasted on top in full color. he also did a pattern fill here, but with just straight lines. Same steps as above, except instead of a little square in the top left hand corner, he put a straight line.
4. the eclipse is my sig. I just changed the brightness and contrast, and then added the username and a border. more on that later..
5. Same thing as the tiburon, he just posted a pic of raven riley(sooo hot) onto a picture of his 240. changed the opacity of raven riley a little, and blurred out the edges of her. rather shitty sig, imo.
6. as far as clearness and color, it depends mostly on how you change the brightness and contrast. Image>Adjustments>Brightness/Contrast..
notice the two differences..
the one on the right is clearer and brighter. her shirt stands out a little more, the car looks sharper. it all depends on you and your imagination.
anything else you need, just hit me up. im always down to help out.
btw, your car is clean as hell!
__________________

"All I can tell you is... the gun had an owner, something happened, and suddenly the gun didnt have an owner anymore."
"All I can tell you is... the gun had an owner, something happened, and suddenly the gun didnt have an owner anymore."
back in a 4g63
Join Date: Jul 2006
Posts: 2,549
Likes: 0
Received 0 Likes
on
0 Posts
about borders...
user names are pretty self-explainatory. just use the text tool and type in whatever, and change the font color, etc. to do a border, first use the Rectangular Marquee Tool and select a box around the picture. Then Go to select>modify>border. type in 10 or so, and click ok. Now you have a selection border around the picture. Then take the paintbrush, and paint it! or do your new Edit>Fill technique, and fill it with any color you want. Press Ctrl+D to take away the selection, and you have a border.
user names are pretty self-explainatory. just use the text tool and type in whatever, and change the font color, etc. to do a border, first use the Rectangular Marquee Tool and select a box around the picture. Then Go to select>modify>border. type in 10 or so, and click ok. Now you have a selection border around the picture. Then take the paintbrush, and paint it! or do your new Edit>Fill technique, and fill it with any color you want. Press Ctrl+D to take away the selection, and you have a border.
__________________
"All I can tell you is... the gun had an owner, something happened, and suddenly the gun didnt have an owner anymore."
"All I can tell you is... the gun had an owner, something happened, and suddenly the gun didnt have an owner anymore."
Lace Up!!!
Join Date: Jan 2007
Posts: 4,532
Likes: 0
Received 0 Likes
on
0 Posts
also, jj, what i did when i made kevos sig, its fairly easy it just takes time. i first, got a pic of his car, the i trimmed it up making it smaller.
then, i found the picture i liked with the girl raven riley, then, i clicked the poly lasso tool and traced around raven riley, then i clicked edit/copy. and then i clicked kevos car and hit the paste button. after that, you select the box tool at the top left of the tool bar, and right click raven riley, then go down to FREE TRANSFORM AND CLICK IT. then, WHILE HOLDING THE SHIFT BUTTON, make it to your decired size. after that, i set the opacity a little lighter to blend in with the piccture. then, after that, click the SMUDGE TOOL and go around the raven riley pic, and try and blend it with the picture. after that i just made a border and put his name at the bottom right...
it takes time but once you get it, then its not that hard.
back in a 4g63
Join Date: Jul 2006
Posts: 2,549
Likes: 0
Received 0 Likes
on
0 Posts
Bought N Built
Thread Starter
Join Date: May 2006
Posts: 1,995
Likes: 0
Received 0 Likes
on
0 Posts
nice thanks guys i will read all of this once i get a chance later. right now i have to go shoot some bikes and cars for my calenders im making. but i appreciate it guys. if you have anymore advice and shit please inform me!
And GsT Racer if you need a lil bit of time please PM me all the shit that you want to tell me OR monday i will have a lot of time if you want to talk to me personally like in a instant message form. if you have AIM i will be more than happy to listen to you monday or you can just send me it over PM's if you havent said all you have to say already lol
And GsT Racer if you need a lil bit of time please PM me all the shit that you want to tell me OR monday i will have a lot of time if you want to talk to me personally like in a instant message form. if you have AIM i will be more than happy to listen to you monday or you can just send me it over PM's if you havent said all you have to say already lol
__________________
Bought N Built
Thread Starter
Join Date: May 2006
Posts: 1,995
Likes: 0
Received 0 Likes
on
0 Posts
ok guys i have 2 questions maybe you can help me out with.
1. how would i go about removing the date from the camera on the picture?
2. how do i get like crazy fonts. all i have is some crappy fonts lol
1. how would i go about removing the date from the camera on the picture?
2. how do i get like crazy fonts. all i have is some crappy fonts lol
__________________
Post Deleting Expert.
Join Date: Nov 2006
Posts: 2,889
Likes: 0
Received 0 Likes
on
0 Posts
1. It's in your camera settings. I don't see the date in the pics you posted, if you're referring to EXIF... let me know. If you don't know what EXIF is, don't worry about it.
2. Google. Search for fonts... but be aware, there are lots of 'free fonts!' sites that aren't free. Take a look, should be self explanatory.
2. Google. Search for fonts... but be aware, there are lots of 'free fonts!' sites that aren't free. Take a look, should be self explanatory.


