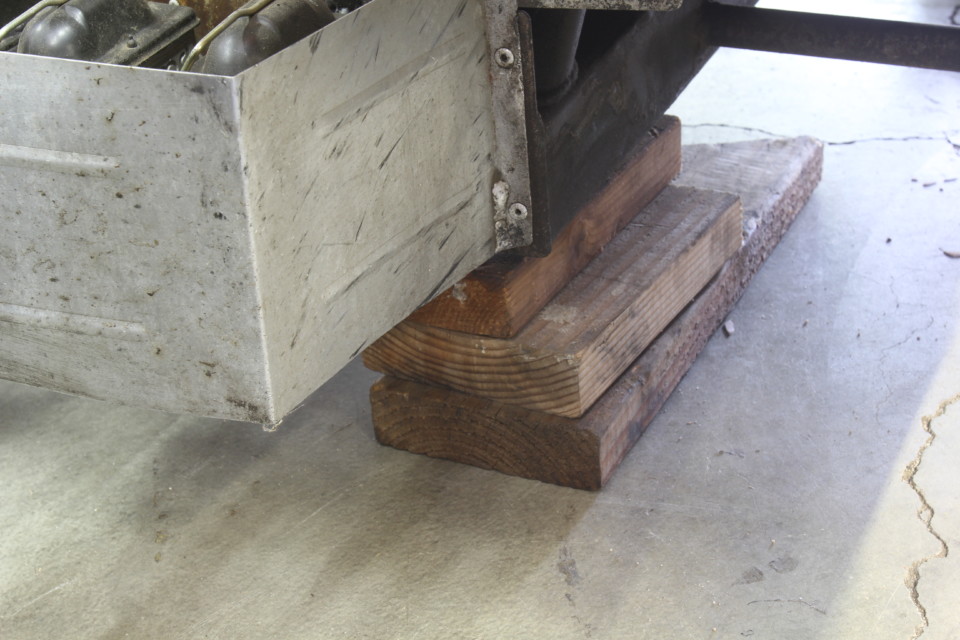
Jack the car up and place it either on a large wooden block, or jack stands may also work, but likely will be too tall to position the car at ride height. Once the height is set, we removed the front tires and unloaded the weight jacks to allow easy suspension movement. The front sway bar must also be removed from one side.
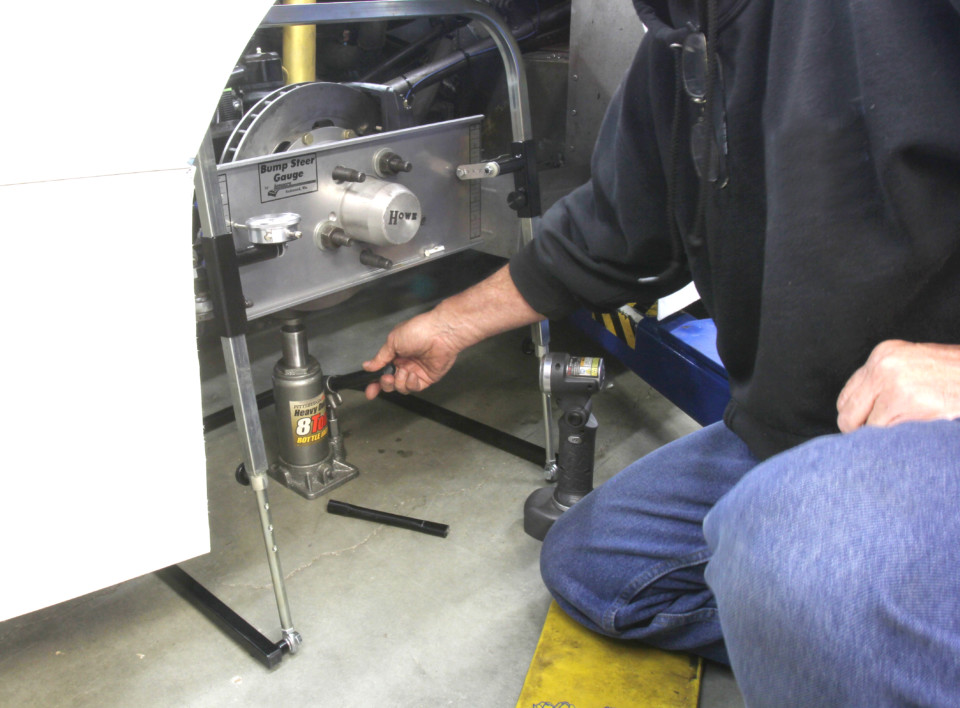
It’s important that the car and the suspension be at ride height, and the steering be locked, when the bumpsteer is checked so that no input will affect the results. Because we’re dealing with extremely small numbers, repeatable results are another important consideration. You must also disable the front anti-roll bar for this test, but you only have to detach one side. Place a floor jack or bottle jack under the lower control arm, as we will use this to slowly move the suspension through its total travel.
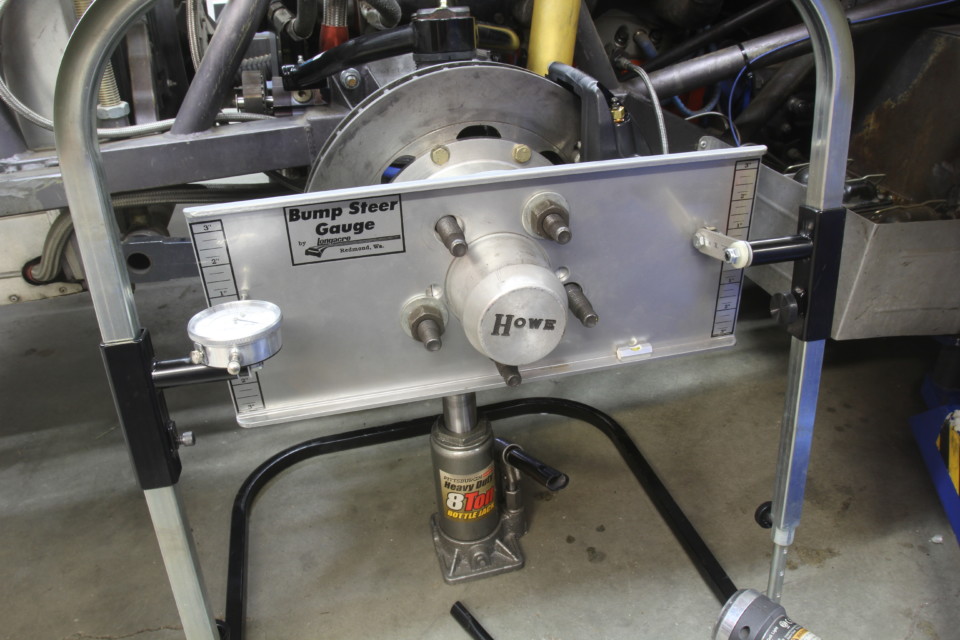
To set up the tool, bolt the flat plate to the hub and position the upright so that it angles toward the aluminum hub plate at about a 15-degree angle. This will keep the two contact points — the roller wheel and the dial indicator — positioned on the aluminum plate. Note that the hub plate is graduated in fractions of an inch through three inches on either side of ride height.
Place the bumpsteer gauge at roughly a 15-degree angle to maintain the dial indicator contact and the roller on the opposite side with the aluminum hub plate.
Start with the suspension at ride height and place the dial indicator and roller wheel at zero on the scale to match ride height. Zero the dial indicator and make sure the level on the aluminum hub indicates that the plate is level. We will start by plotting data for compression, but you could easily start with rebound if you prefer.
With zero on the dial indicator, and its plunger aligned with zero on the hub plate at ride height, you can now move the suspension through either compression or rebound to the first checking height. We chose half-inch increments. Here, it indicates 1 inch of rebound.
We pumped the jack to indicate 0.50 inch of compression and watched the dial indicator. It’s important to note the direction that the dial indicator moves. In our case, under compression the indicator moved outward — away from the center of the car — which would mean toe-out. The indicator only moved about 0.003 inch.
Next, we recorded numbers every half-inch of travel through 2 inches of compression. Each time we changed bump travel, we rechecked the hub plate to ensure it was still level, since it will move slightly every time the hub is moved.

Whenever moving the suspension, always check to make sure the hub plate is level using the integrated bubble level. If the hub is not level, the ride height changes will likely not be accurate.
With the compression bumpsteer plotted, we then returned the hub to zero (or ride height) and performed the same procedure through rebound, recording each change in toe with the dial indicator. In rebound, the suspension was linear, moving to toe-out.