Informations and Pictures Courtesy Of: CanTheWhales.
Alright, Step 1 (instructions under image)
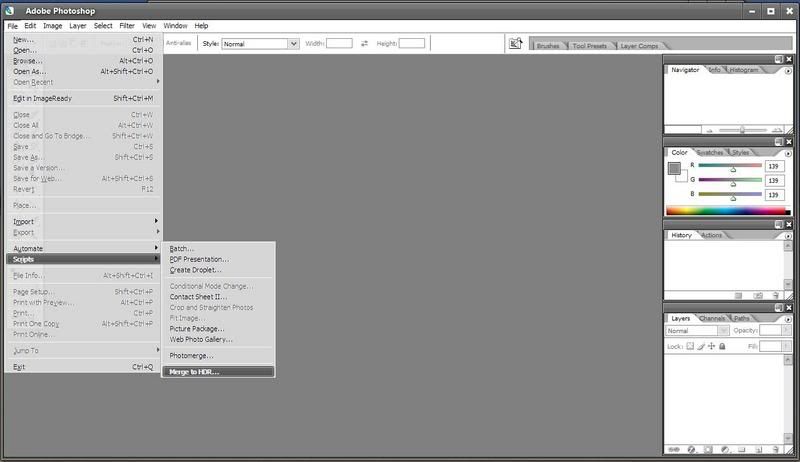
Select "Merge to HDR"
Step 2
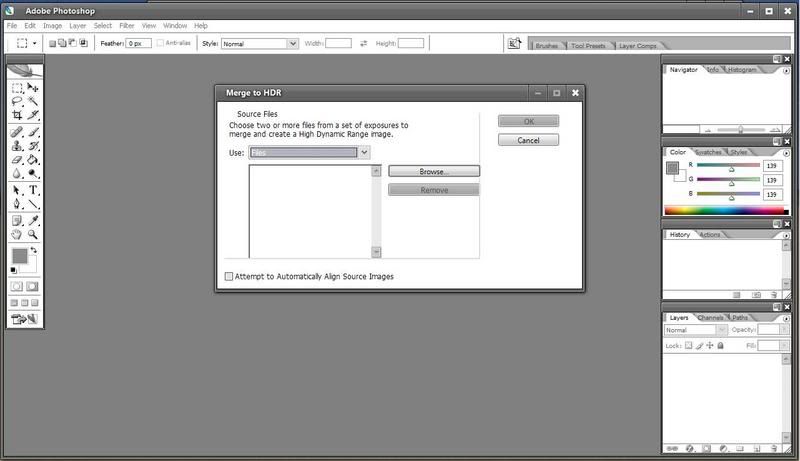
Here's the window that will come up
Step 3
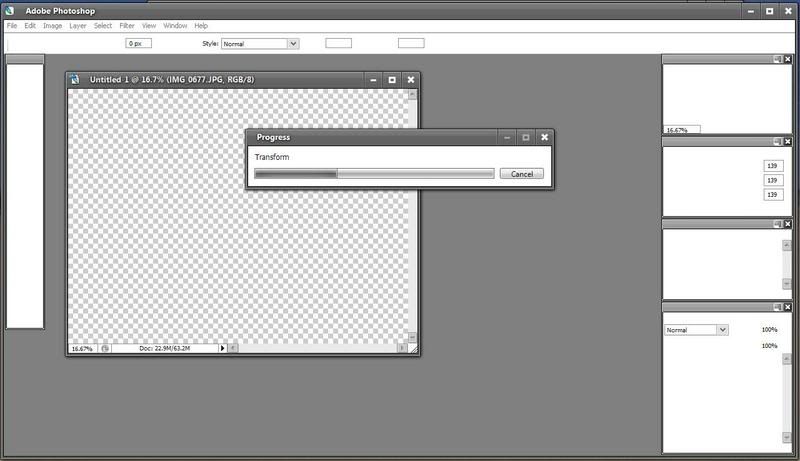
After you select your three or more images click okay and wait. (This takes a minute of so and the screen will flash with windows opening and closing)
Step 4
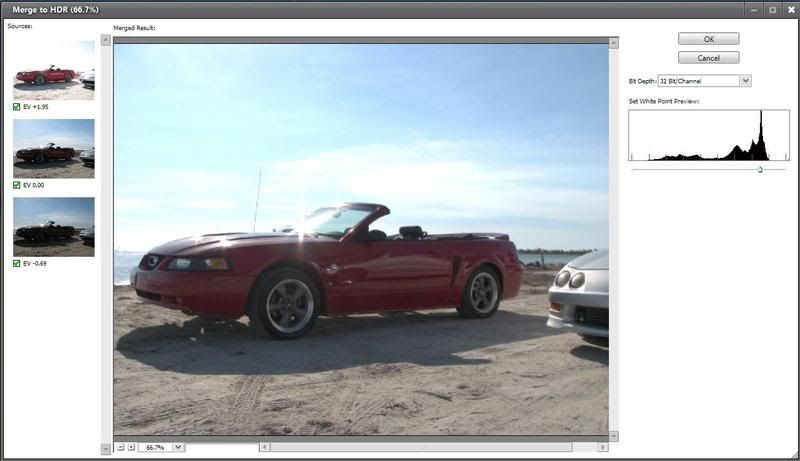
This window will come up when the process is finished. Notice the three images on the left, these are the ones that I took (one regular, one over, and one under). Here you set the Whitepoint like Daredevil had said on the histogram. Also for better compatability and further adjustments, set the Bit/Chanel down to 8
Step 5
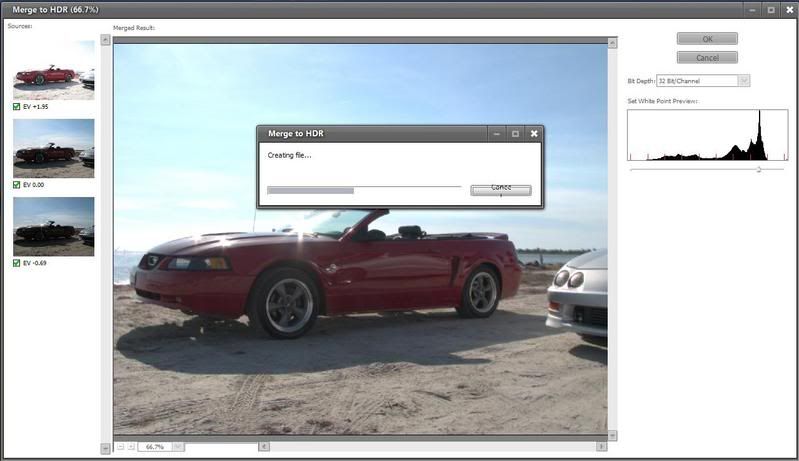
Click okay and wait for the progress bar.
Step 6
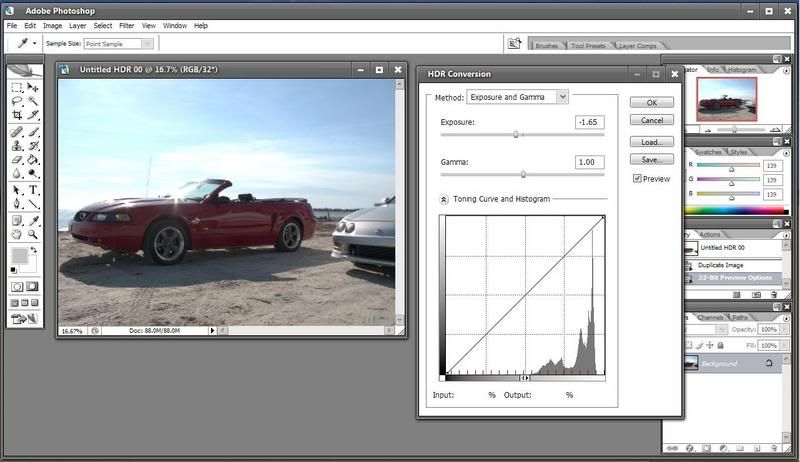
This is the tonal mapping I was mentioned earlier. Here you can change the exposure if neccesary.
Step 7
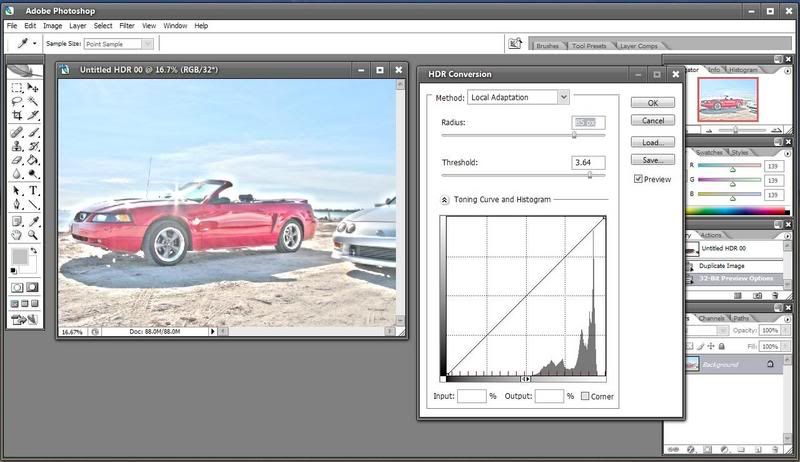
On the drop down go to "local adjustment". Here you can change the radius and threshold and play with them how you like. I find setting them a little higher creates a surreal "glow" kind of effect. Your choice.
Step 8
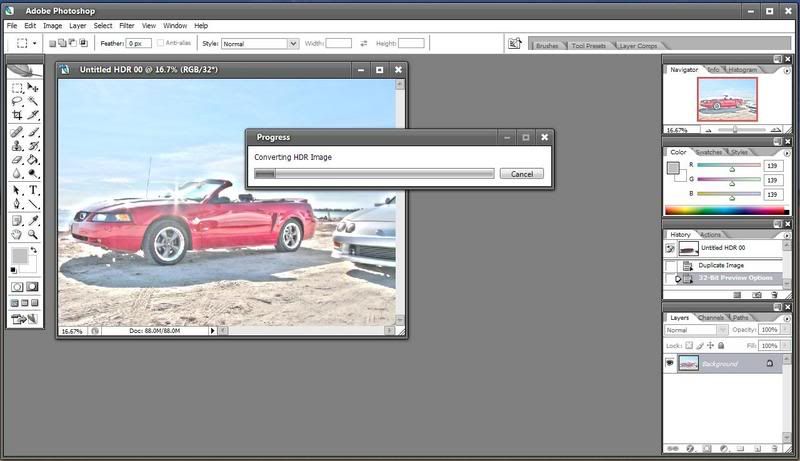
Click okay and wait, the image is now being made.
Step 9
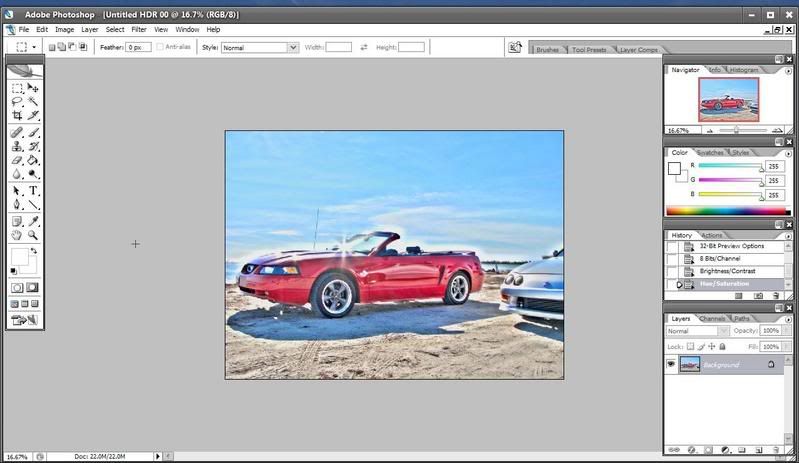
At this point you're basically done, but as you can see mine were done on the beach and they were still really washed and I also want to show one more thing....
Step 10
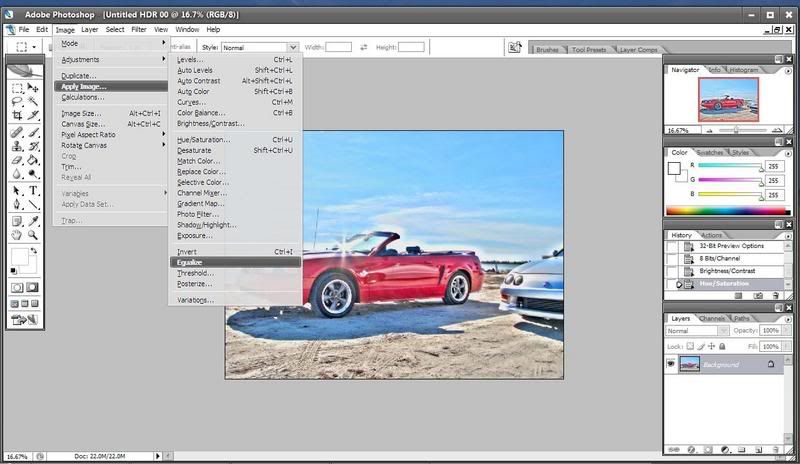
Under adjustments, select "equalize" This will level some of the high spots and make the image a little more "deeper" looking.
Step 11
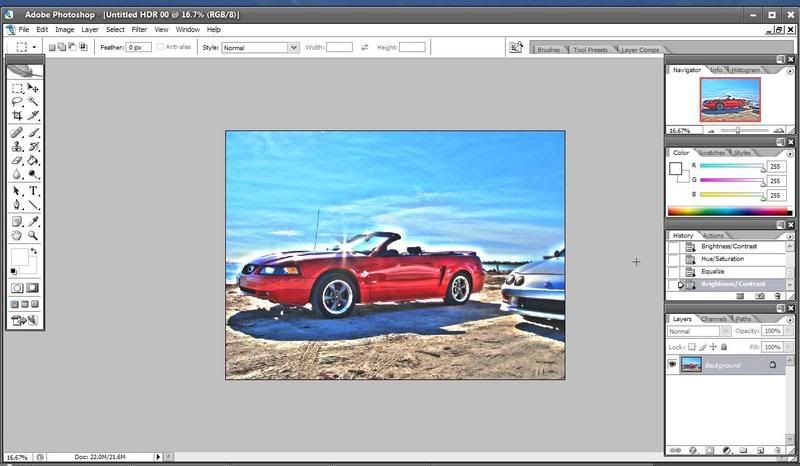
Notice the sky is much blue-er? That's equalization. If your still not satisfied, you can go into image> adjustments>... and and change hue, color balance, contrast, whatever, but this is the best this picture will really ever be.
So there, I hope this helps, and I'm sorry they weren't a nice of pictures as Kirk's but they were all I had at the moment.
Also thanks to ShiZor9 for letting me shoot his 'Vert that day.
Again I hope this helps, if not let me know and I'll see if I can better explain it or fix any problems.