'06 Silverado - Stereo Install

Registered User
Thread Starter
Join Date: Feb 2005
Posts: 6,099
Likes: 0
Received 0 Likes
on
0 Posts
2006 Chevy Silverado Work Truck - Standard Cab - Stereo Install:
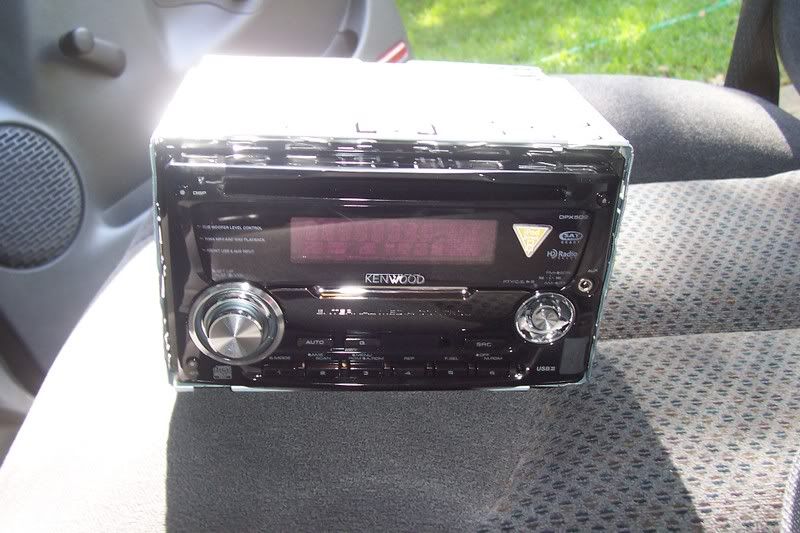
Head Unit: Kenwood DPX502 (Double Din, Multimedia)
Dash Kit: Metra GM Double Din
Wiring Harness: Metra GM w/Accessory Lead Wire (No GM Module)
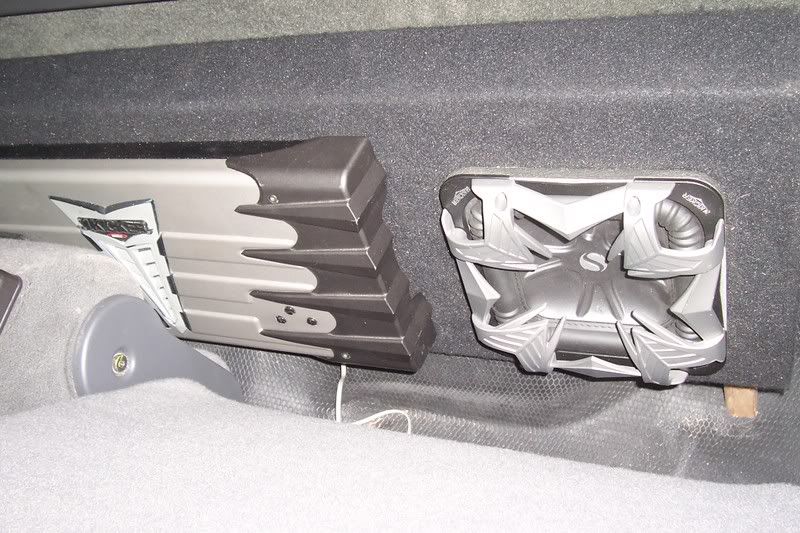
Subwoofers: (2) Kicker 8" Solo Baric L7's (Sealed Box)
Amplifier: Kicker KX600.2 (w/Kicker Remote Bass Knob)
Capacitor: Power Acoustick
Wiring: Stinger 4 Gauge (Power) and Stinger 10 Gauge (Speakers)
Install was pretty straight forward. First off, a major thank you and hats off appreciation to Mr. Chris Devasher!! He sold me the equipment (Subs, Grilles, Cap, Box and Wiring) and then went the extra step to help me along with the installation!!

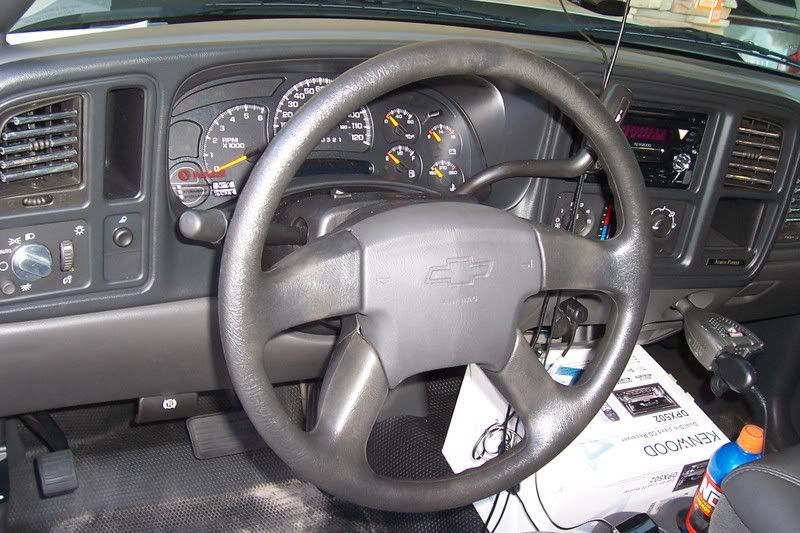
We started off the morning at about 8:30am, first things first was removal of the gauge surround and stereo surround piece (large plastic piece that exposes the bolts to the head unit for removal). To do this we had to put the steering wheel all the way down on the tilt function, and pull the gear shifter down into 1st gear.
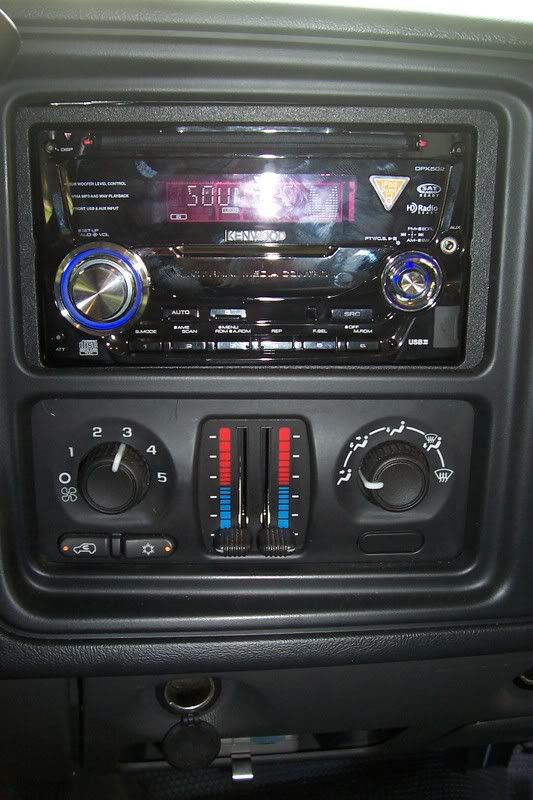
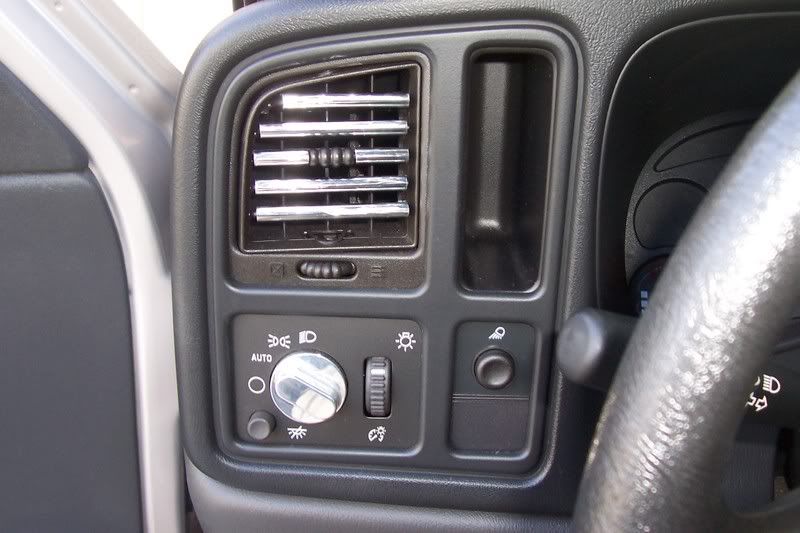
Next we had to remove the (3) 7MM bolts that were fastening the OEM CD Player into the dash. This was quick, easy, and painless. I hadn't had the presence of mind to take pictures just yet... So here is the first one, with the plastic surround removed:

Once the plastic surround and the stock CD player were removed, then we got to work with the Kenwood DPX502 and the wiring harness and dash kit. This is really where Chris shined - I'm an electronics
 and he sat down with the wiring diagram and spliced the Kenwood supplied plug into the Metra wiring harness.
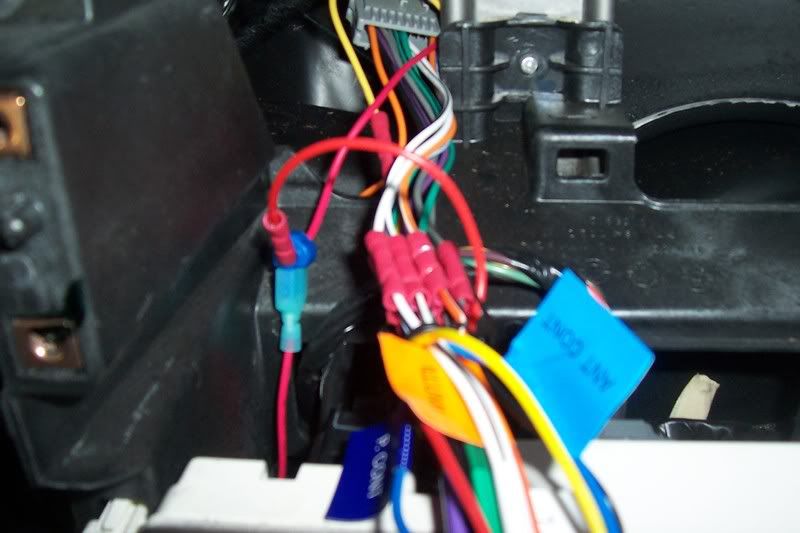

Many had stated that I had to use the GM Module (not on here, but many other forums that I had researched this install on). I really didn't believe this, and thought the module was more/less a method for "The Man" to keep ya down
 At a savings of over $100... I figured I would go without it! So I went ahead and rolled the dice. We ran the "accessory lead wire" (provided in the wiring harness kit), down into the drivers side fuse box, and it comes with a small fuse clip that slides down over one of the stems of the fuse. I put it into the "SEO Accessory" slot (10 amp fuse). We also went ahead and ran the Remote Wire at this time. It ran down the same path as the Accessory Lead Wire, and then down the driver's side kick panel, etc. At this time, we plugged the harness into the stereo and made sure that everything powered up at least and that we had sound...
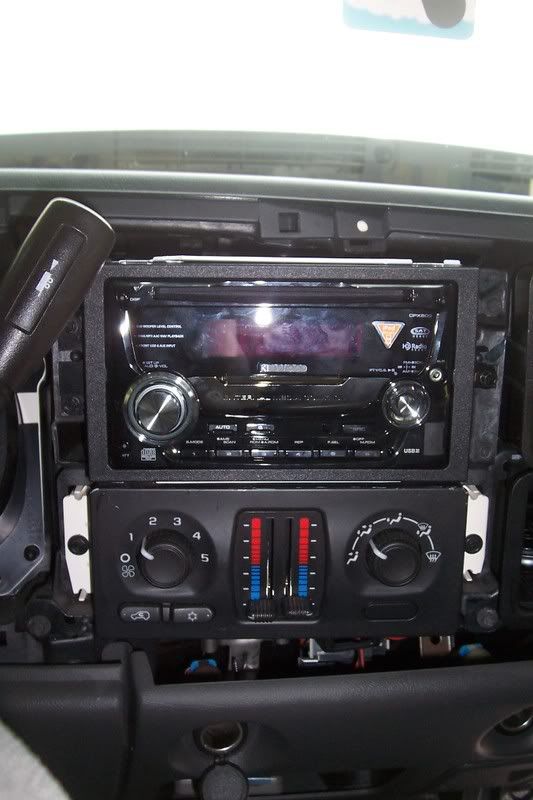
Always good to check you work as you go, to avoid having to go back over it ALL later after installing everything and having to trace down each step from the beginning!! Everything checked out, powered up, and had sound!

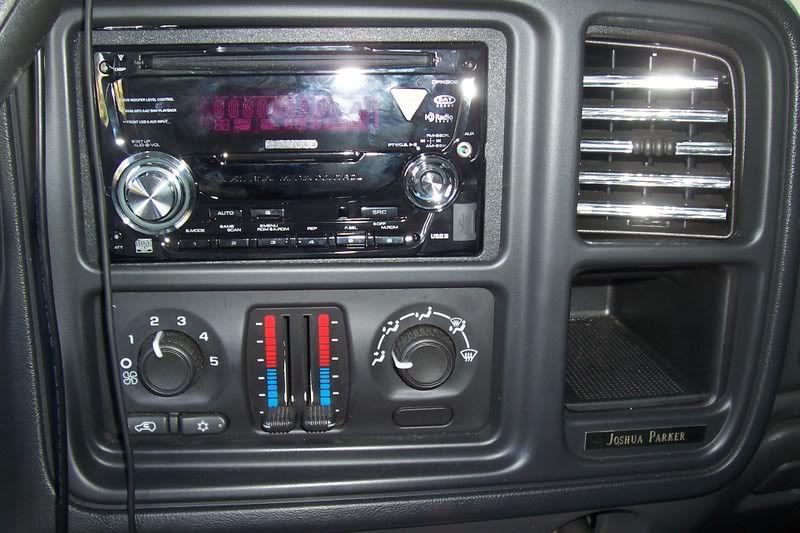
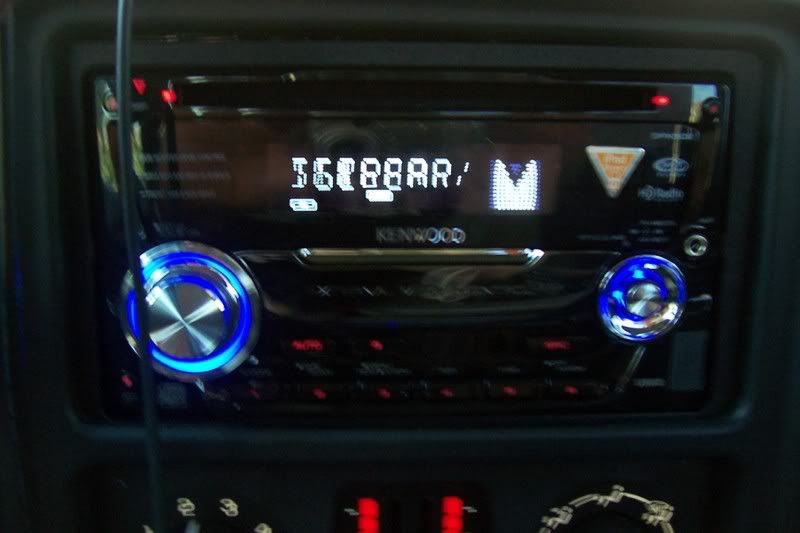
Oh yeah, before installing the dash kit, Chris had to fiddle around with the provided parts and the ones from Kenwood... And he basically had to come up with his own version of the dash kit, lol. No biggie, it went in fine, and worked PERFECTLY! The finished intall of the Kenwood DPX502 with the Metra Double Din Kit:
Next was the installation of the OEM Antenna... I had purchased a shorty antenna for my truck, and unfortunately when I removed the OEM one, it ripped the entire barb right out of the truck with it!!
 For $16.54, GM sold me the replacement... But it was the stud, barb, and about 2 feet of wiring as well. So we had to fish that down into the cab of the truck and mate it to the stock antenna plug... This was one of the biggest hassles of the day actually, and took about a half an hour or more
Once that was done, we began to wire the subs/amp. Using a Rockford Fosgate Fusable Link, and Stinger 4 gauge wire, we sourced a location to push it through the firewall. We wound up using the trucks main harness (after originally attempting to utilize the windshield wiper harness hole/location unsuccessfully). I used a box cutter to open a small hole in the harness' plug at the firewall. Then I wrapped the power wire around an old wire clothes hanger and pushed it through the incision to the trucks cabin. This worked very well, and was very accessible from inside the cab. At this point we took the power wire and the remote wire and ran them down the kick panel, down the door sills, and then into the rear of the cab where the box was going to be placed...
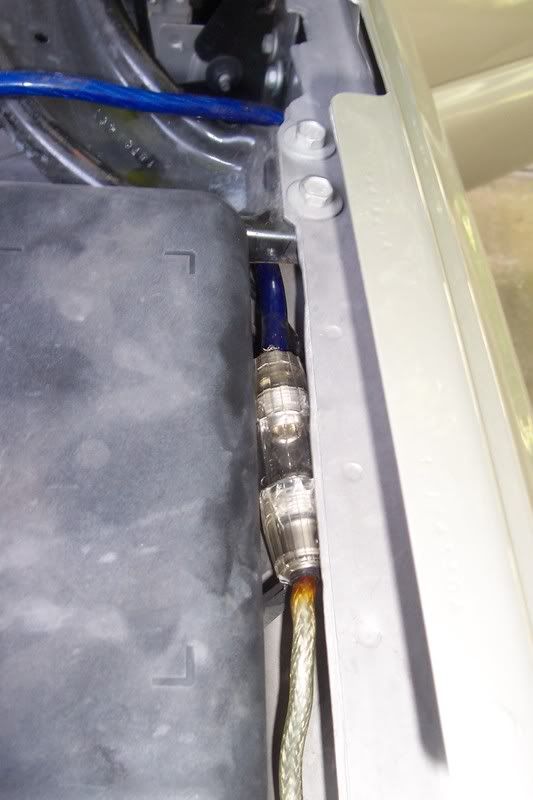
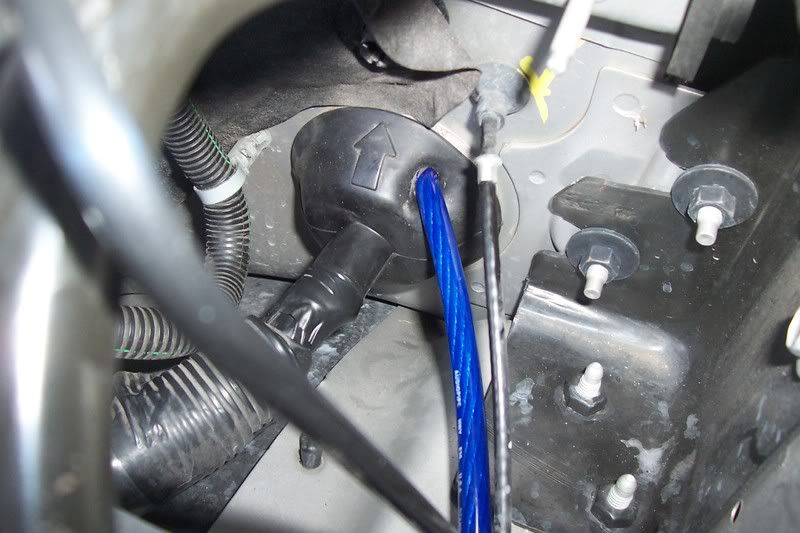

Once the power wire was in, the remote wire done, and the harness was done for the Kenwood... It was time to power up the power wire!! To do this, I first removed the negative terminal on the battery (8MM wrench), and then removed the positive terminal as well (again, 8MM wrench). To get the power wire to actually fit down over the post, and then get the post to thread back into the battery w/the OEM GM Plug gimmick around it - I had to cut out a small portion of the rubber plug. I simply laid the prong up against the rubber, and took the box cutter and traced it out on the rubber. I removed that piece from the positive terminal's rubber grommet, so that the power wire would sit flush underneath the post and actually thread (without this being done, the power wires connector pushed the positive terminal too far out away from the battery, and you could not get the terminal to rethread back into the battery).
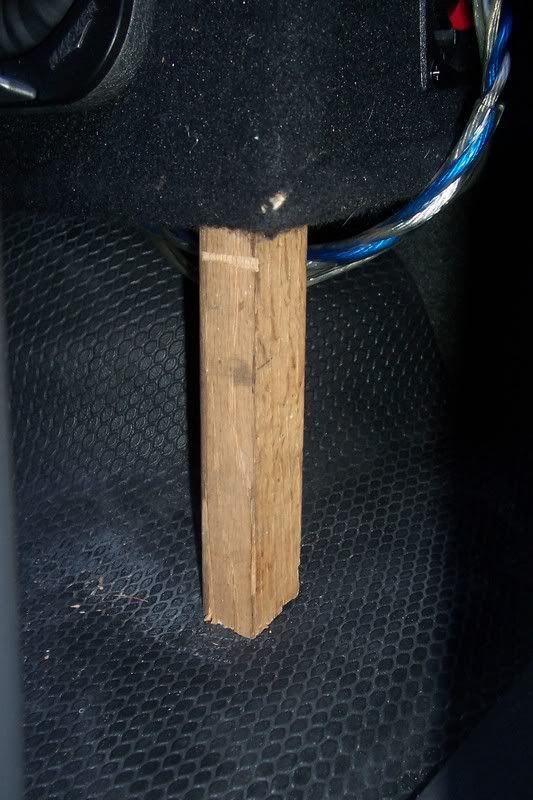
Once we had power, we had to get 'grounded' - so I had already removed my jack and such from behind the passenger seat. I used the box cutter to cut a 2" square of the vinyl flooring, and then the matting beneath the flooring, to expose the bare metal floor pan. Then I had to use a hacksaw to cut the post in half (where the jack originally mounted to; it was too tall at it's original length). This is where we ran the ground wire to. It's nicely tucked beneath the box and unseen, so that's a plus!!
Next we worked on mounting the Power Acoustick Capacitor. We had to mount this to the passenger side of the box, so that we could access the Ground easily.
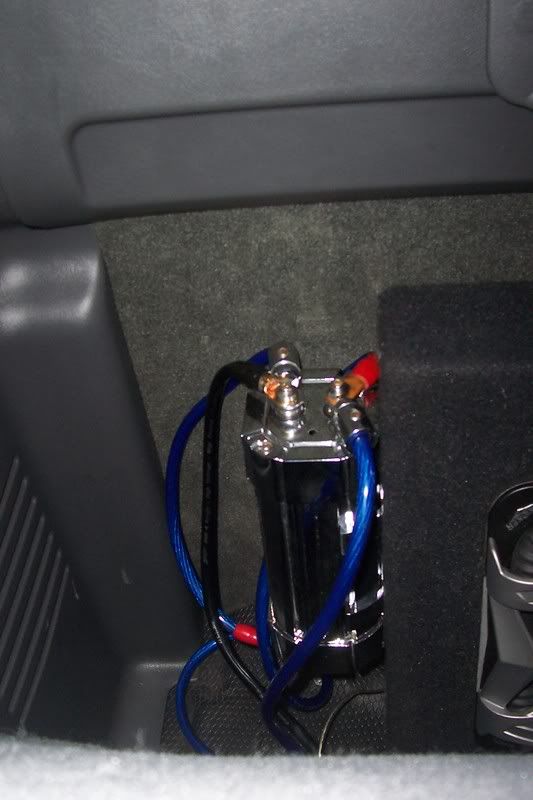
So now the Kenwood was in and wired, subs/amp were powered and grounded, cap was mounted and wired, and the speakers were already wired to the amp... So we slid the box into the truck behind the seats...
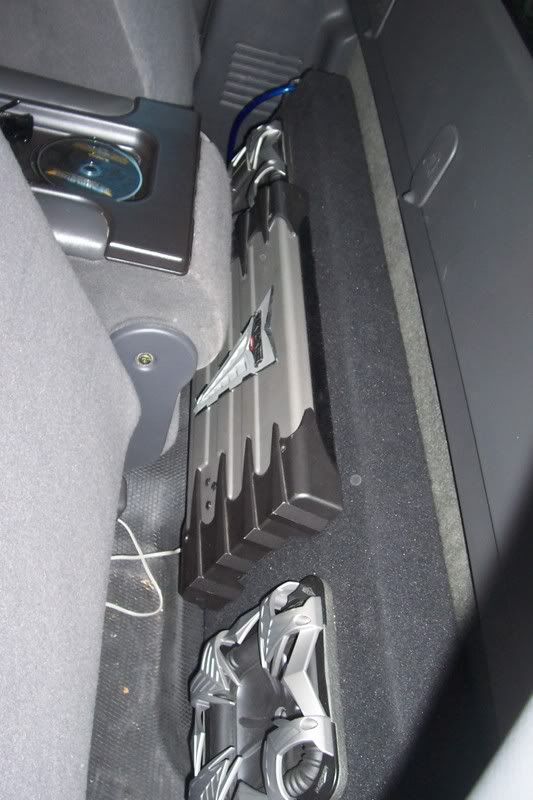
The trucks got a weird hump in the back area there, and we had to fab up some little stands to hold the box flush and I've got to finish these (need to paint black, and mount to the box and floor).
So after some checking, double checking, and triple checking of everything... We found that we had a bad ground, and had to go ahead and redo the ground wire... After getting that straightened back out, everything fired up and worked GREAT!!
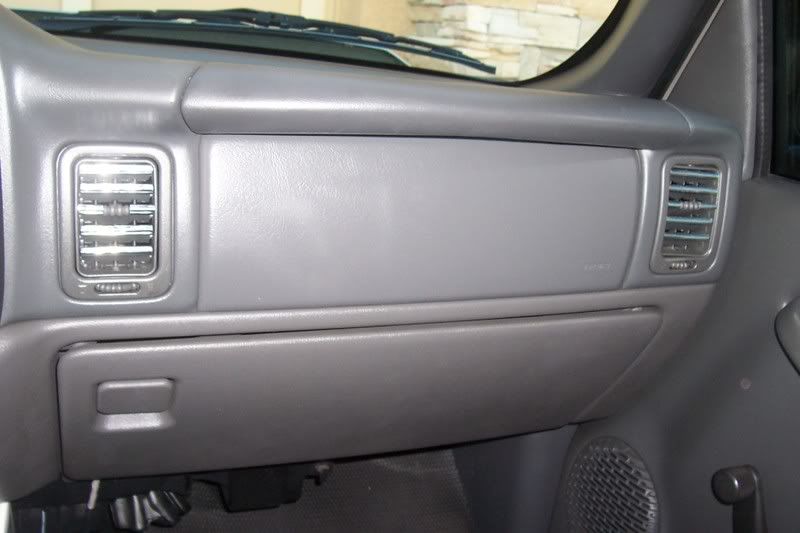
And for the record... The GM Module that was "necessary to keep the air bags working and powering up" - well here's a picture for all those haters,
 :
: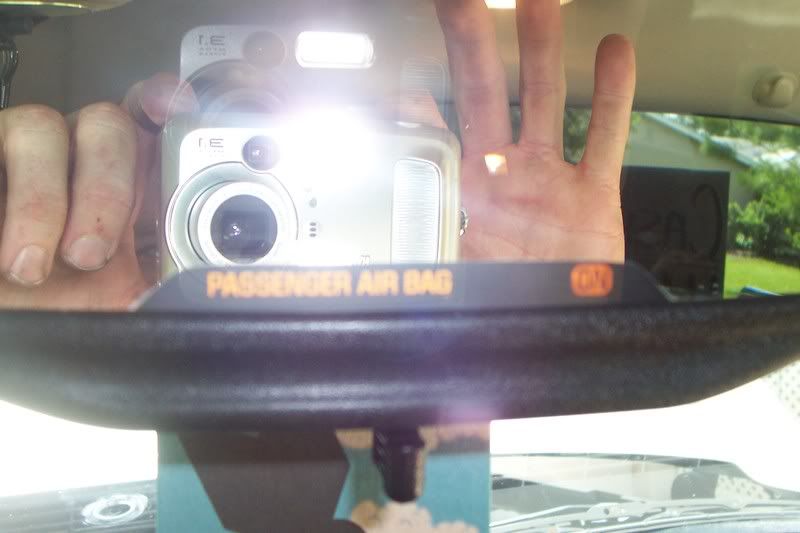
Definitely powers up the air bags still!
 Thank God for small favors!!
Random photos of the install and the interior of the truck:
Obligatory Garmin (and SunPa$$) :
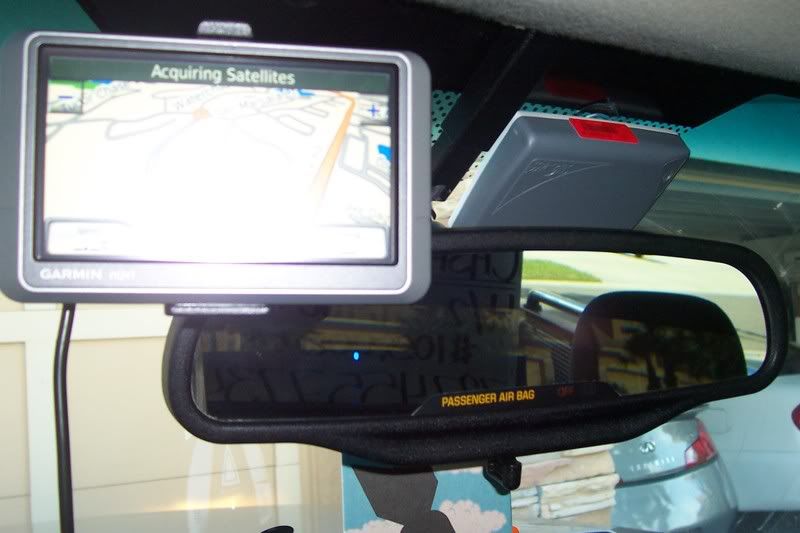
Coleman Power Inverter for my Laptop, 3-way plug for my Garmin, Bluetooth, and Cobra Radar Detector:

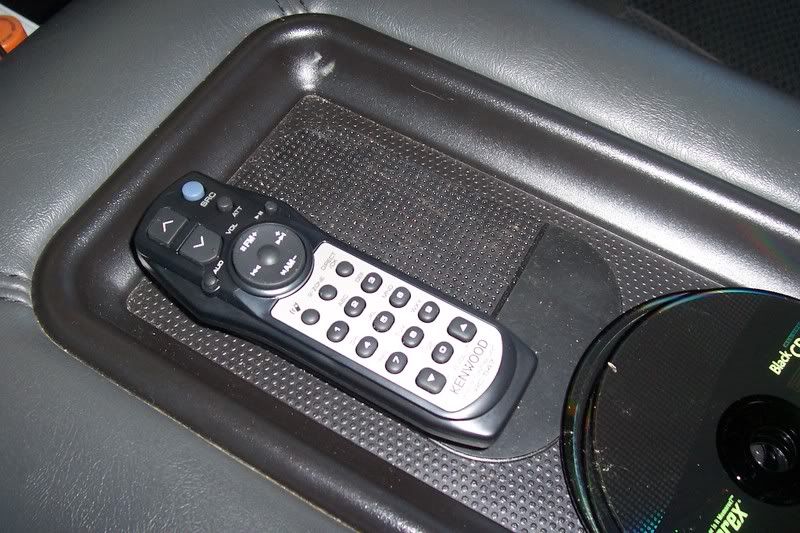
Kenwood DPX502 Remote (and awesome $5 sticky pad to keep it still on the console):
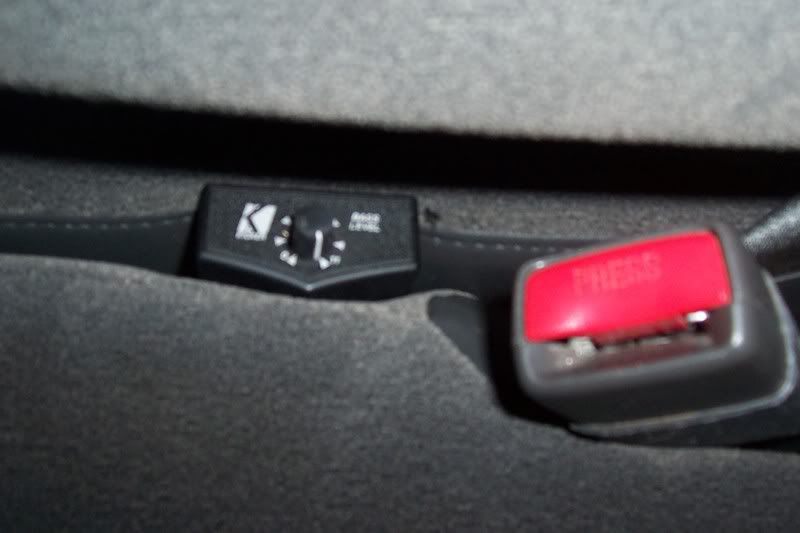
Kicker Remote Bass Knob, tucked away nicely between the driver's seat and the center console for easy access to change the level of thump:
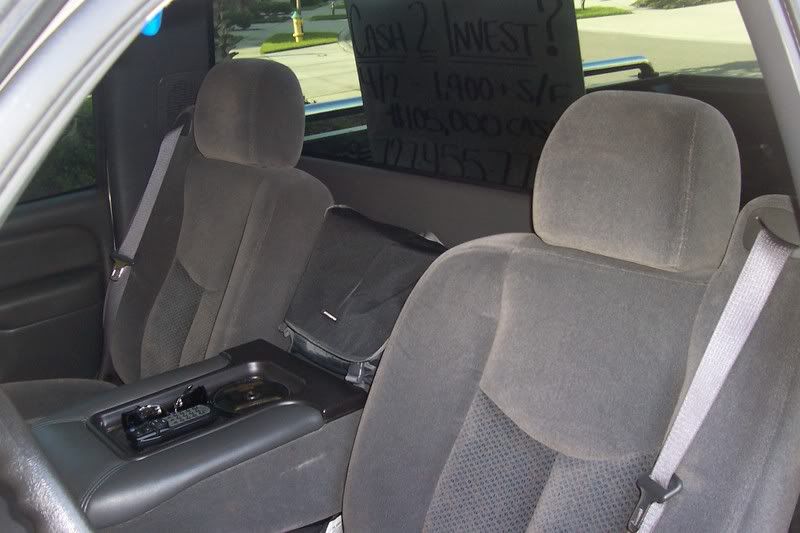
Everything tucks away neatly with the seats in a PERFECTLY comfortable position:
Comments, questions, concerns
 Hopefully this will help some other people take on the project of installing their own stereo(s)!!!!!!
-Jo$h
Last edited by MiDiablo; 08-17-2008 at 02:53 PM.


Registered User
Thread Starter
Join Date: Feb 2005
Posts: 6,099
Likes: 0
Received 0 Likes
on
0 Posts
Thank you I spent quite a bit of time with it! I was surprised that nobody else had anything to say - good or bad
I am having some troubles with my ground wire I think now. Either that, or with the amp being bridged. One or the other. After a very bass-y note, the amp will cut out. Sometimes for a few seconds (15), and other times its has done this for over 3 minutes.
I'm considering relocating the ground location, and also considering re-running the speaker wires from bridged to individual channels. Not sure though......
I spent quite a bit of time with it! I was surprised that nobody else had anything to say - good or bad I am having some troubles with my ground wire I think now. Either that, or with the amp being bridged. One or the other. After a very bass-y note, the amp will cut out. Sometimes for a few seconds (15), and other times its has done this for over 3 minutes.
I'm considering relocating the ground location, and also considering re-running the speaker wires from bridged to individual channels. Not sure though......
King of Ricers
Join Date: May 2005
Posts: 11,330
Likes: 0
Received 0 Likes
on
0 Posts
all that work for a double din and no lcd =/
For the ground, I would use that rear seat bolt since it goes through the entire chassis layer and probably the frame support beam.
But your cutting out may be more related to your gains being set too high or the lack of airflow to keep the amp cool. What temps is the amp running at?
For the ground, I would use that rear seat bolt since it goes through the entire chassis layer and probably the frame support beam.
But your cutting out may be more related to your gains being set too high or the lack of airflow to keep the amp cool. What temps is the amp running at?

Registered User
Thread Starter
Join Date: Feb 2005
Posts: 6,099
Likes: 0
Received 0 Likes
on
0 Posts
LCD? Like a TV you mean? I have no need/use for a TV. I've got my Laptop in the truck at all times that I am in it. I have a Jotto Desk laptop stand and can use it for any LCD needs.
Gain on the amp is set very low. Airflow for the amp is probably minimal I don't know how to gauge the temps of the amp though But just by touching the amp, it's warm, but not "hot" IMO.
Gain on the amp is set very low. Airflow for the amp is probably minimal
But just by touching the amp, it's warm, but not "hot" IMO.
Last edited by MiDiablo; 08-19-2008 at 08:17 AM.
Flowmaster nut swinger
Join Date: Jan 2005
Posts: 7,535
Likes: 0
Received 0 Likes
on
0 Posts
Awesome write up as always Josh!! So how does it sound now?? Any plans to upgrade the stock speakers? Some bump in the DD, wouldn't have it any other way!!
__________________
All American Street Car Performance <--- Facebook page link, check us out!
6187 126th Ave North
Largo fl 33773
MV#72427
(727)535-6905 - Shaun
All American Street Car Performance <--- Facebook page link, check us out!
6187 126th Ave North
Largo fl 33773
MV#72427
(727)535-6905 - Shaun
Registered User
Thread Starter
Join Date: Feb 2005
Posts: 6,099
Likes: 0
Received 0 Likes
on
0 Posts
It sounds good enough for me. My buddy has two serious 12"s and a big 1200 watt amp - and he said it was "weak"
He's right, in comparison to HIS setup... But it's great for what I do - tons of daily driving in traffic in Tampa 
Sounds good in rock, rap, and everything between - so I'm happy!!
I've just got to get this amp cut-out situation fixored. I think I've got the subs wired goofy in the box (2 ohm vs 4 ohm) from what I've been reading up on the intraweb! We'll see, gotta get down to that this weekend if I can escape from work.
Oh, and definitely planning on replacing the stock mids/highs. I'm considering going with a component set for the front and just normal plate speakers for the rear (maybe coaxial). I'm sure I'll have to look at another amp at that point too
Something to always be spending MORE money on
Donut Killer
Join Date: Jun 2002
Posts: 2,747
Likes: 0
Received 0 Likes
on
0 Posts
Now that I know you can install all that stuff....
__________________

SC Motorsports
11801 State Road 52
Hudson, FL 34669-3092
(727) 856-8768
FordSpeed Racing
11733 66th St., Unit 123
Largo, FL 33773
(727) 549-8255
Dynojet Chassis Dyno
SC Motorsports
11801 State Road 52
Hudson, FL 34669-3092
(727) 856-8768
FordSpeed Racing
11733 66th St., Unit 123
Largo, FL 33773
(727) 549-8255
Dynojet Chassis Dyno

Registered User
Thread Starter
Join Date: Feb 2005
Posts: 6,099
Likes: 0
Received 0 Likes
on
0 Posts
Thanks dannydude!! I like it too!! I've gotta get back there and clean up the install a bit. It was really a matter of getting it IN and WORKING when the initial install took place. But now I want to spend another day or two on it, creating bracketry to hold it all properly in place, finishing the wooden posts or "legs" to the box, mounting them, and rewiring the stuff with some shrink wrap/etc.
Once we get moved into the new house, I'll be able to have the garage space to tinker around
Once we get moved into the new house, I'll be able to have the garage space to tinker around


